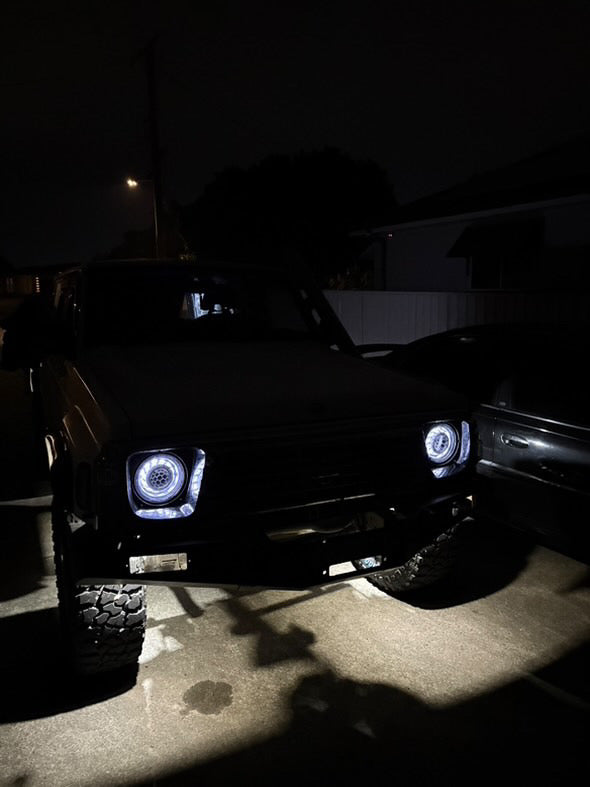
Custom headlight installation
This section is for all headlights with H4 factory plugs
CUSTOM BI-LED HEADLIGHT INSTALLATION GUIDE
IMPORTANT NOTES
- Professional installation recommended.
- Always disconnect your battery before starting.
- Test Headlights prior to starting installation.
OVERVIEW
LADS Lighting Custom Headlights are engineered for easy installation using factory mounts and plug & play connections. Follow this guide for a seamless install.
What you’ll need:
- Phillips screwdriver
- Trim removal tools
- Soldering iron or Crimp tool
- Socket set
- Electrical tape
- Zip ties
- Multimeter (optional)
- Vehicle manual (for reference)
STEP 1: REMOVE FACTORY HEADLIGHTS
- Ensure LADS Lighting Bi-LED Headlights are not damaged from transit & all components are there.
- You should have:
- 2x LADS Lighting Bi-LED Headlights
- 1x Demon Eye Controller + Extension Wire
- 1x RGBW Controller + Extension Wire
- 2x H4 Adapters
- 2x CANBUS Modules (if vehicle requires them)
- Remove grille, bullbar, and anything needed to access your existing headlights.
- Remove headlights, isolating indicators & park lights.
STEP 2: PREPARE & ROUTE WIRING
- Mount controllers out of direct weather (behind the grille, under radiator support, or behind a headlight depending on the vehicle).
- Position controllers closer to one side so that wiring reaches both headlights.
- Plug in CANBUS modules (if supplied) to your H4 vehicle feed.
- Plug the H4 Adapter into the CANBUS Module (or directly into H4 feed if not supplied).
- Run extension wires from both controllers to each headlight location.
- Locate Indicator (+) wires and Park Light (+) wire on one side of the vehicle’s feed.
STEP 3: POWER CONTROLLERS
- Wire in both controllers, powering them from the same source (splice together for ease of installation).
- Choose a power feed:
- Full-time 12V source → Allows controller use when vehicle is off.
- Ignition source → Powers only when vehicle is on.
- Splice into Indicator & Park Light (+) wires, insulating connections properly.
- If removing the factory indicator globe, add a Load Resistor between the (+) & (–) indicator wires to prevent hyper-flashing.
- Refer to wiring information below for the Wiring Diagram.
- Ensure all connections are fused (7.5A fuse recommended).
STEP 4: HEADLIGHT INSTALLATION
- Install LADS Lighting Headlights, plugging in H4 adapters & controllers.
- Confirm all wiring functions as intended.
- Adjust beam alignment:
- Park vehicle 5–10m from a wall.
- Check low beam height—make sure it doesn’t shine too high.
- Adjust screws:
- Bottom screw in (clockwise) → lowers beam
- Top screw in (clockwise) → raises beam
- Avoid anticlockwise adjustment (risk of projector touching lens).
- Refit grille, bumper, and any removed parts.
STEP 5: TEST & CONFIGURE
- Download the following apps to control your headlights (ensure Bluetooth & Location Services are enabled):
- Magic LED App → Select SP105E Controller
- LED Lamp App → Use Search function (auto-connects)
- It’s recommended to run Low/High beams initially to dissipate moisture.
- If excessive moisture persists beyond 10 days of use, please contact LADS Lighting support.
✅ Your LADS Lighting Bi-LED Headlights are now installed and ready to go.

